Canon EF lenses can be installed to the mirrorless cameras easily. We can make other lenses to appear as Canon EF lenses by installing the AF Confirm chip connected to EOS lens adapters.
I had bought an autofocus EOS to NEX adapter which allows me to use Canon lenses. It also allows me to connect my M42 lens to my NEX camera with some information printed by using the AF chip. Unfortunately the AF chips are not what they are described.
The normal AF Confirm chip only shows 50mm and F1.4 and works as described.
The EMF AF Confirm chip is supposed to be programmable but it didn't. Only allow us to change the aperture setting and this can be recorded. But make sure your lens aperture is also set to the set aperture. The NEX camera uses the aperture setting for its exposure setting. When my lens was set to F1.9 and aperture in the camera set to F11, the reading appears normal, but the exposed picture is overly exposed. The solution is to make sure that we set the aperture of the lens to that of the camera setting. In this way we can store the apeture setting in EXIF. Unfortunately we cannot change the focal length setting of 50 mm.
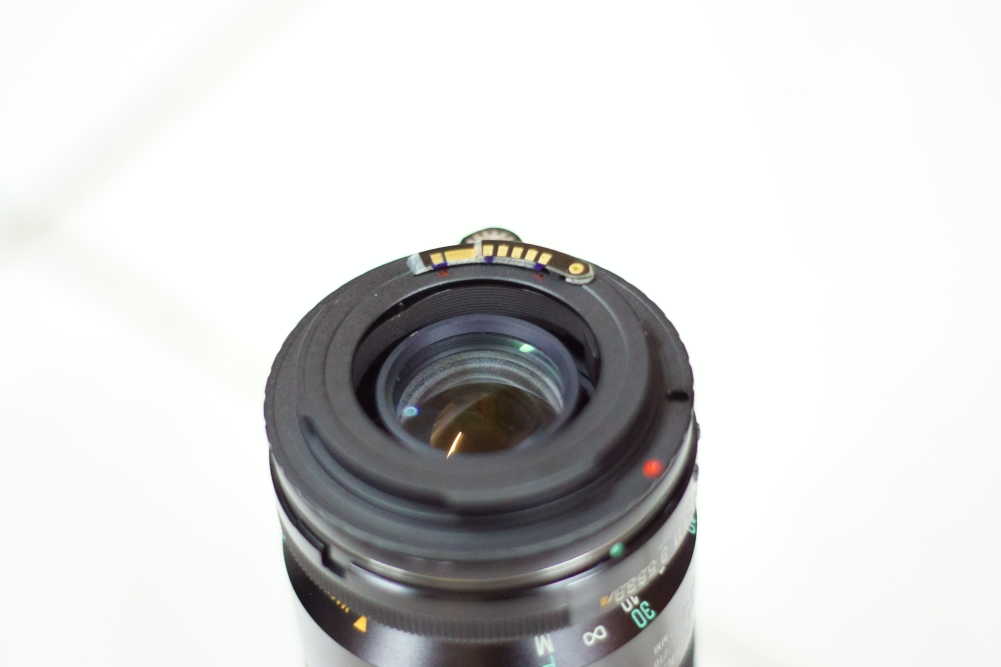
Installing the chip to the M42 to EOS adapter is easy. Just use a double sided tape and mark the location of the contact point. Install the adapter without the lens so that we can see the contacts. Mark the location of the contact on the adapter. In the M42 adapter, the screw thread is the best location.
 |
| Preinstalled AF Confirm chip, M42 to EOS. |
|
 |
| User installed. Note the mark on the screw. It is critical that you do this. Use double sided tape to fix. |
|
 |
| Set at the default F1.4. Apeture priority and manual works. |
|
 |
| Lens is set at F1.9, but camera is set at F11 using aperture priority. |
|

Comments
Post a Comment