How to make RAW photos with the Huawei Mate 20 Pro
https://www.fredericpaulussen.be/how-to-make-raw-photos-with-the-huawei-mate-20-pro/

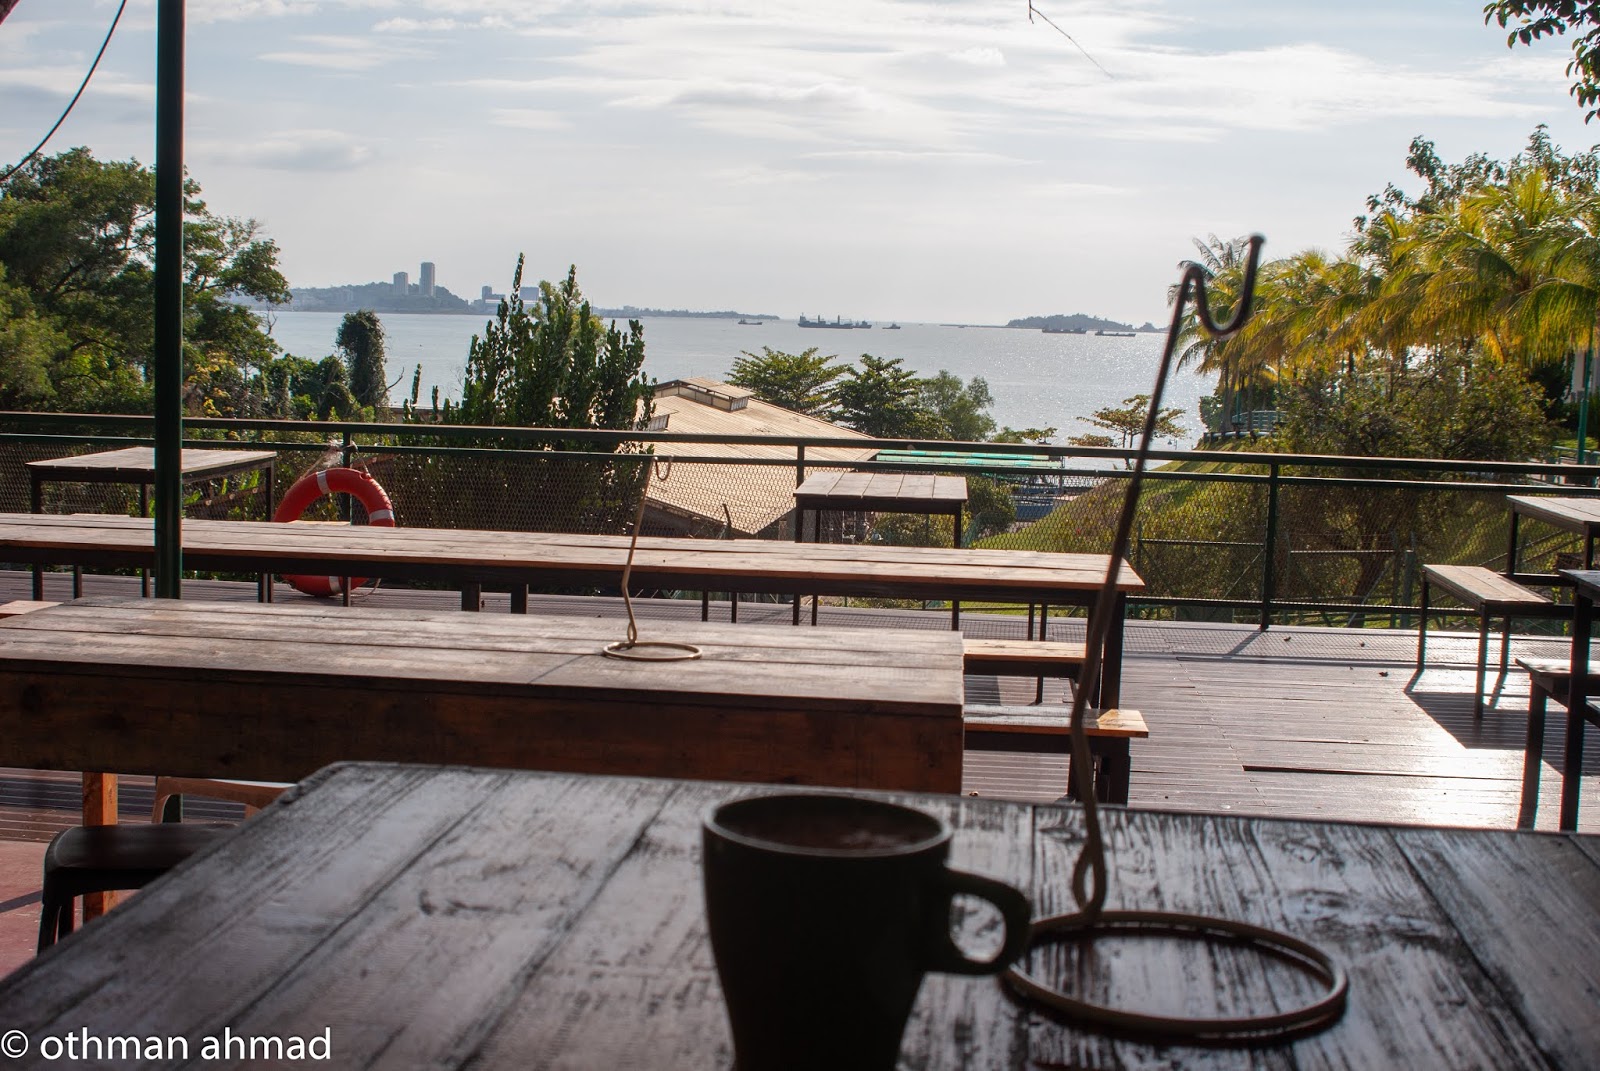
Still thinking about buying a Huawei Mate 20 Pro? Read my full review here.
The longer answer is yes but in different resolutions. The main lens supports 40 megapixels, the telephoto supports 8 megapixels and the ultra-wide supports 20 megapixels. The file-sizes and resolutions are all dependant on which sensor you shoot with. Of course, the 40 megapixels lens will create larger files with higher resolutions than the 8 megapixels sensor.
A little bit more about the files you get from the Mate 20 Pro camera. I’m talking resolutions and file-sizes.
Main – 40MP
7280 x 5456 pixels
Average 75MB
Telephoto – 8MP
3248 x 2432 pixels
Average 15MB
Ultra-wide – 20MP
5104 x 3824 pixels
Average 40MB
You can download my free Huawei Mate 20 pro RAW photo samples in this blog post.

A fairly simple step. Usually, there is a shortcut on the main menu of you Mate 20 Pro. On the lower right side, you will notice the icon for the camera app.

Shooting RAW isn’t supported in all camera features. In fact, it’s only supported in Pro-mode. On the bottom of your screen, you find a slider with several options. Select the “Pro” option. This opens the camera in pro-mode, and thus allows you to create RAW photos.

When first setting up your phone, just selecting pro-mode isn’t enough to photograph RAW. When opening it up the first time, select to cogwheel in the upper right corner. This will allow you to adjust the settings of this camera-mode on your Huawei Mate 20 Pro.

The first setting you can adjust is the resolution. First of all, I recommend putting this on the highest available. Changing your lens will automatically adjust the sensor-size too. So selecting the highest (40MP) will allow you to have the best quality photos at all time.

Under all the resolution options, you find a slider to turn on RAW-format. Select this one, and make sure the slider is one. You will see a blue color if RAW is turned on.
Congratulations, you can now explore the world of photography in the best way possible!
But don’t worry, shooting RAW on the Huawei Mate 20 Pro also creates a jpg copy. So you can do both.
How to make RAW photos with the Huawei Mate 20 Pro
Share the post "How to make RAW photos with the Huawei Mate 20 Pro"
Still thinking about buying a Huawei Mate 20 Pro? Read my full review here.
Do all three Mate 20 Pro lenses support RAW?
The simple and short answer is yes.The longer answer is yes but in different resolutions. The main lens supports 40 megapixels, the telephoto supports 8 megapixels and the ultra-wide supports 20 megapixels. The file-sizes and resolutions are all dependant on which sensor you shoot with. Of course, the 40 megapixels lens will create larger files with higher resolutions than the 8 megapixels sensor.
A little bit more about the files you get from the Mate 20 Pro camera. I’m talking resolutions and file-sizes.
Main – 40MP
7280 x 5456 pixels
Average 75MB
Telephoto – 8MP
3248 x 2432 pixels
Average 15MB
Ultra-wide – 20MP
5104 x 3824 pixels
Average 40MB
You can download my free Huawei Mate 20 pro RAW photo samples in this blog post.
So how do you photograph in RAW with the Mate 20 Pro
Okay okay, you didn’t need all this information about the RAW-files. You just want to shoot in the best quality possible. Let’s get started with setting up your Mate 20 Pro to shoot RAW photos.Step 1: open the camera app
A fairly simple step. Usually, there is a shortcut on the main menu of you Mate 20 Pro. On the lower right side, you will notice the icon for the camera app.
Step 2: select pro-mode
Shooting RAW isn’t supported in all camera features. In fact, it’s only supported in Pro-mode. On the bottom of your screen, you find a slider with several options. Select the “Pro” option. This opens the camera in pro-mode, and thus allows you to create RAW photos.
Step 3: tap the cogwheel in the upper right corner
When first setting up your phone, just selecting pro-mode isn’t enough to photograph RAW. When opening it up the first time, select to cogwheel in the upper right corner. This will allow you to adjust the settings of this camera-mode on your Huawei Mate 20 Pro.
Step 4: select resolution
The first setting you can adjust is the resolution. First of all, I recommend putting this on the highest available. Changing your lens will automatically adjust the sensor-size too. So selecting the highest (40MP) will allow you to have the best quality photos at all time.
Step 5: turn on RAW format slider
Under all the resolution options, you find a slider to turn on RAW-format. Select this one, and make sure the slider is one. You will see a blue color if RAW is turned on.
Step 6: Make photos
This step is probably the most fun one. Just take photos of the things around you. Your Huawei Mate 20 Pro is creating a jpg and dng file of each photo you make. The jpg will have the Mate 20 Pro AI post-processing, the dng file (which is a RAW-file extension), will be flat and boring, waiting for you to bring it to live with your editing.Step 7: Find your RAWs saved in the gallery
The next step of course, is finding your files on your smartphone. It’s not too hard to find, but it can be confusing at first. Exit the camera-app and go to your gallery-app.Step 8: Mixed in ‘All photos’
You can find the RAWs mixed in between the jpgs, your downloaded photos, and others in the ‘All Photos’ map. If you want to work on both jpgs and dngs, this is the place to be!Step 9: RAW only in ‘others’ and then ‘RAW’
If you only want your dngs (aka RAWs), you can select the ‘Other’s’ folder instead. This will lead you to a couple of different sub-folders, including one labeled ‘RAW’. Opening this folder you can find all the photos you made with RAW switched on.Congratulations, you can now explore the world of photography in the best way possible!
Should I photograph in RAW?
The question to this answer is more complex than a yes or no. It depends on what you are going to do with the photos.When to shoot in jpg
If you aren’t planning on doing any major post-production, jpg is more than enough. Apps like Instagram and VSCO don’t support RAW, so you will use jpgs anyway. Also sharing via WhatsApp or other messaging apps uses jpgs.But don’t worry, shooting RAW on the Huawei Mate 20 Pro also creates a jpg copy. So you can do both.


Comments
Post a Comment